Products
Solutions
Resources
9977 N 90th Street, Suite 250 Scottsdale, AZ 85258 | 1-800-637-7496
© 2024 InEight, Inc. All Rights Reserved | Privacy Statement | Terms of Service | Cookie Policy | Do not sell/share my information

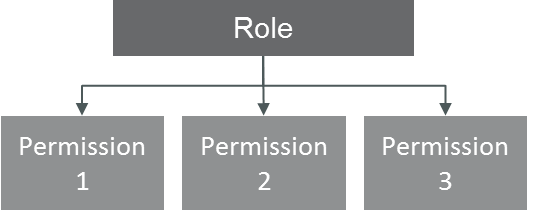
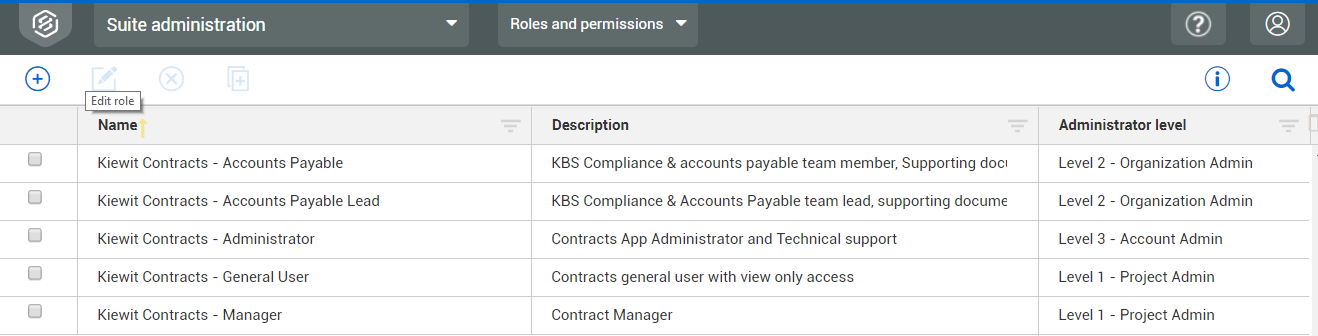
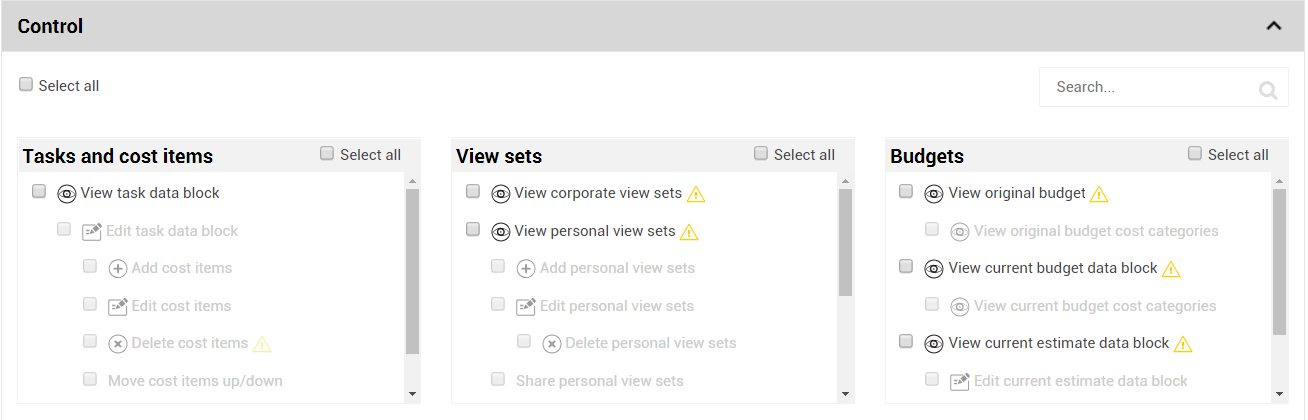
The InEight cloud platform allows you to create roles with assigned permissions, as shown below:
You can then assign roles to users as needed:
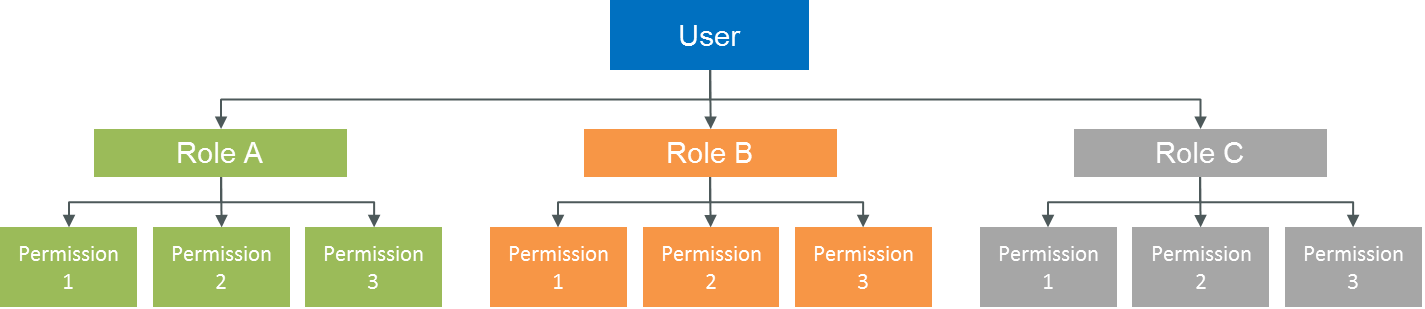
Users with the same role will have the same permissions.
You or the user being assigned to the project will only have the permissions granted for that project. Users would not have the same permissions on another project unless those same permissions are granted on another project.
Some InEight applications require specific roles to be assigned to perform their functions. Even if you have administrative access, you may need to be assigned a specific role to perform a function.
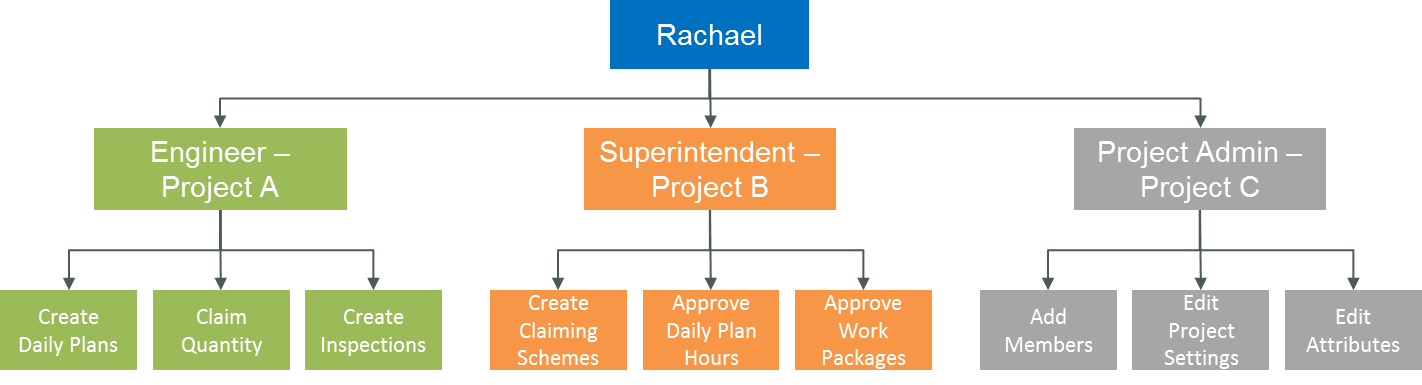
For example, your set up of roles and permissions for your project engineer might look something like this:
Roles are organized into four levels. These levels determine the available permissions you can grant to a new role or custom role. It is a way to filter permission options.
|
Level |
Descriptor |
Available Permissions |
|---|---|---|
|
0 |
Base |
View access only. |
|
1 |
Project Admin |
Edit information for a project. |
|
2 |
Organization Admin |
Edit User information and create new projects. |
|
3 |
Account Admin |
All the available permissions including adding users and editing roles and permissions. |
You can change the available permissions by choosing the applicable administrative level.

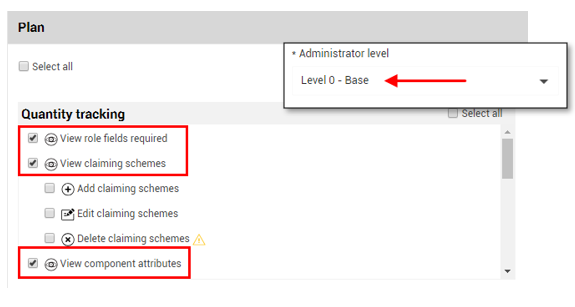
In this example, it shows how the permissions are filtered based on the level that is selected.
For an administrator of Level 0 – Base, in the Plan application for Quantity Tracking, this role would only be able to view items.
For an Administrator level of Level 3 – Account Admin in the Plan application for Quantity Tracking, this role would only be able to view, manage, create, edit, and delete.

Only Levels 0 and 1 roles can be assigned to a project. Levels 2 and 3 must be assigned at the Organizational level.
The permissions available for each role are grouped by the applicable InEight application. Each application has its own set of permissions.
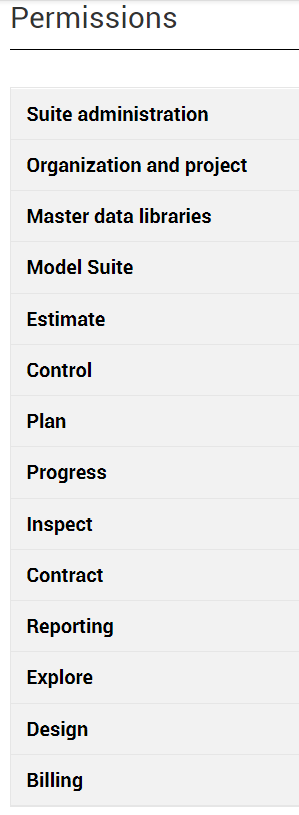
Click the product line to expand the view and show the available permissions.
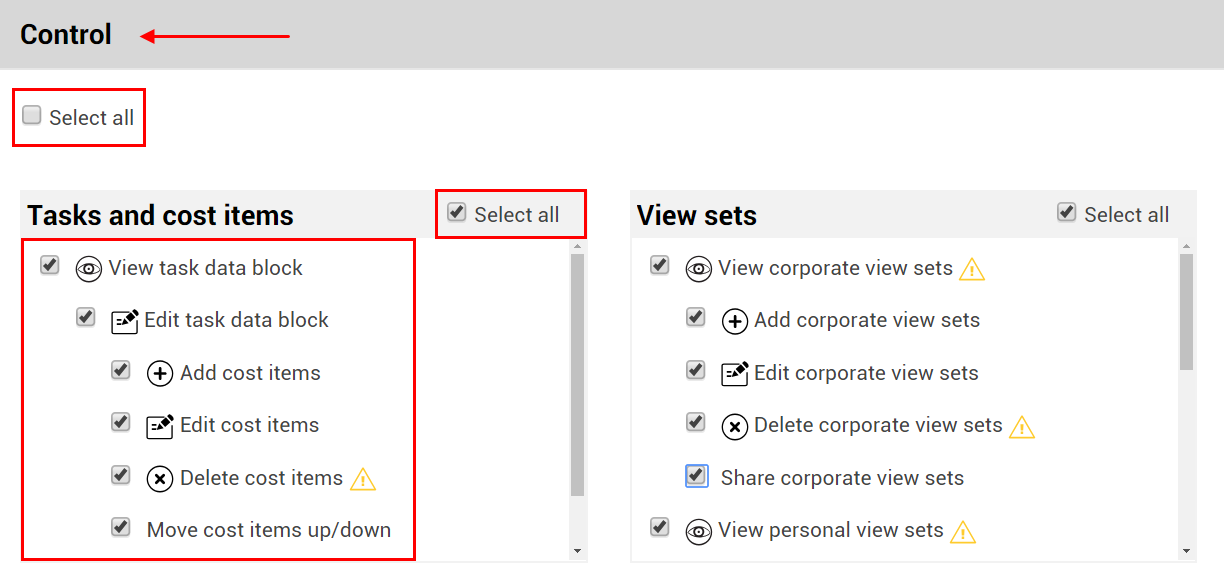
You can choose to select all the available permissions, or you can define the permissions individually based on the level selected.
From the Main menu, click Suite Administration > Roles and Permissions. The Roles and permissions page opens.
Click the Add role icon to add a new role.
The Add role page opens
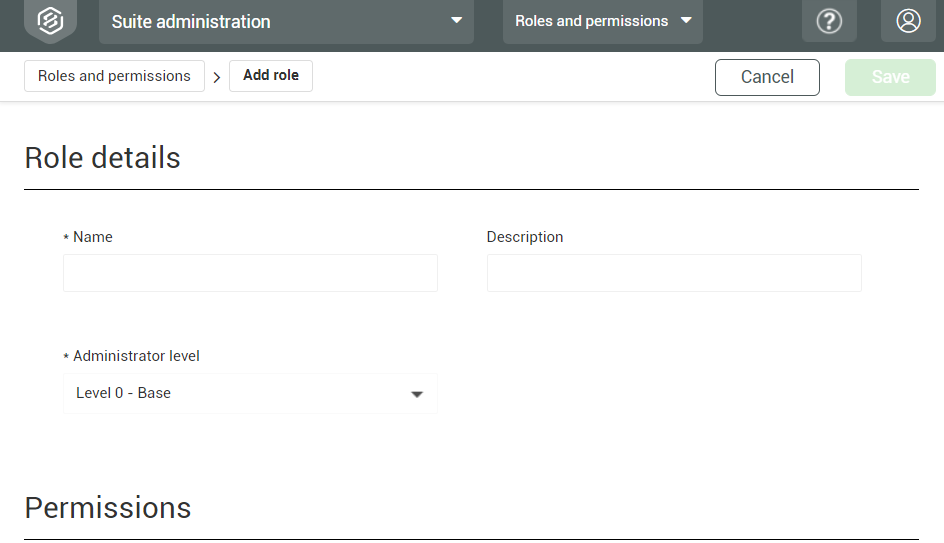
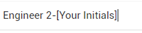
Name the role Engineer 2 – [your initials].
Define the description as Role for Field Engineers.
Click the Save button.
Roles cannot be deleted but you can change the status, which lets you determine whether the role is available or unavailable to be assigned to a user. If an existing user is assigned a role that was later changed to Unavailable, a notification will indicate it in the Edit user dialog box for the user’s roles. This is a prompt to delete or assign a different role for the user.
After you create a role, you can edit the role to define its permissions.
From the Roles and Permissions page, select your Engineer 2 role.
Click the Edit role icon.
Notice that under the Permissions section, none of the permission boxes are checked.
Expand a product section, for example the Plan section.
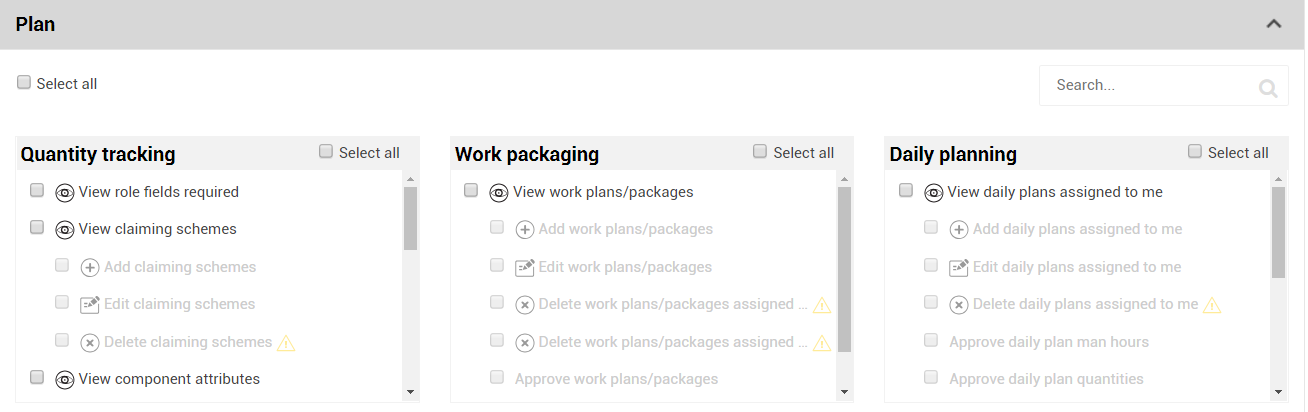
Click on Select all.
Click Save.
After you define the permissions for a role, you can assign the role to a user.
From the Main menu, click Suite Administration > User Management.
Select a name from the list.
Click the Show information details icon.
Click Assign/unassign roles.
In the Roles section, click Add role.
In the Role drop-down list, select Engineer.
In the Organization/Project field, select C-XYZ.
C-XYZ is the organization that you are providing permissions for.
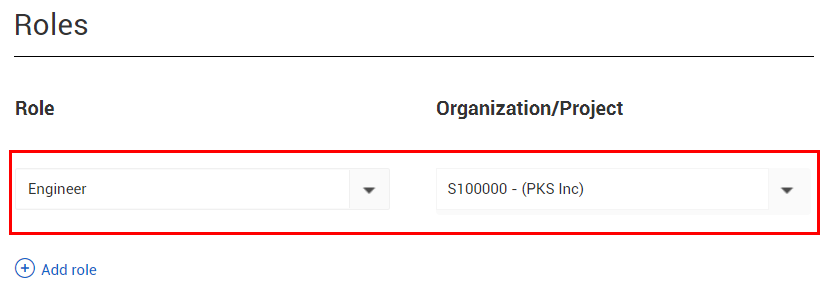
Click the Save button.
Additional Information
9977 N 90th Street, Suite 250 Scottsdale, AZ 85258 | 1-800-637-7496
© 2024 InEight, Inc. All Rights Reserved | Privacy Statement | Terms of Service | Cookie Policy | Do not sell/share my information